Introduction #
I’ve been testing Zigbee2MQTT for a few months now, and I’m finally ready to give you my opinion.
If you prefer to watch rather than read, you can check out my full video breakdown below:
In this post, I’m going to provide an overview of the Zigbee2MQTT interface, compare it to Zigbee Home Automation (ZHA), and let you know whether I’ve decided to keep using it or switch back to my old setup.
Two paths for Zigbee in Home Assistant #
If you’re running Home Assistant, there are two main ways to locally and directly control your Zigbee devices:
- Zigbee Home Automation (ZHA): The native Home Assistant solution, and exactly what I’ve been using for many years.
- Zigbee2MQTT (Z2M): A standalone software that bridges your Zigbee network to an MQTT broker.
An MQTT broker is necessary for Z2M since all communication with Home Assistant is handled via MQTT messages. I decided to install Zigbee2MQTT in a Docker container and use the Mosquitto add-on in Home Assistant.
My docker compose setup #
If you are going the Docker route, here is the docker-compose.yml snippet you can use to spin up Zigbee2MQTT.
If you’re interested in an installation and setup tutorial, let me know on my socials. I also suggest checking out the official Zigbee2MQTT documentation.
services:
    zigbee2mqtt:
        container_name: zigbee2mqtt
        image: ghcr.io/koenkk/zigbee2mqtt
        restart: unless-stopped
        volumes:
            - ./data:/app/data
            - /run/udev:/run/udev:ro
        ports:
            # Frontend port
            - 8080:8080
        environment:
            - TZ=Europe/Berlin
        devices:
            # Make sure this matches your adapter location
            # Use ls -l /dev/serial/by-id to find your adapter
            - /dev/ttyUSB0:/dev/ttyACM0
Exploring the Zigbee2MQTT GUI #
The Z2M graphical interface is available as a standalone webpage. The home screen immediately shows an overview of your network and all connected devices.
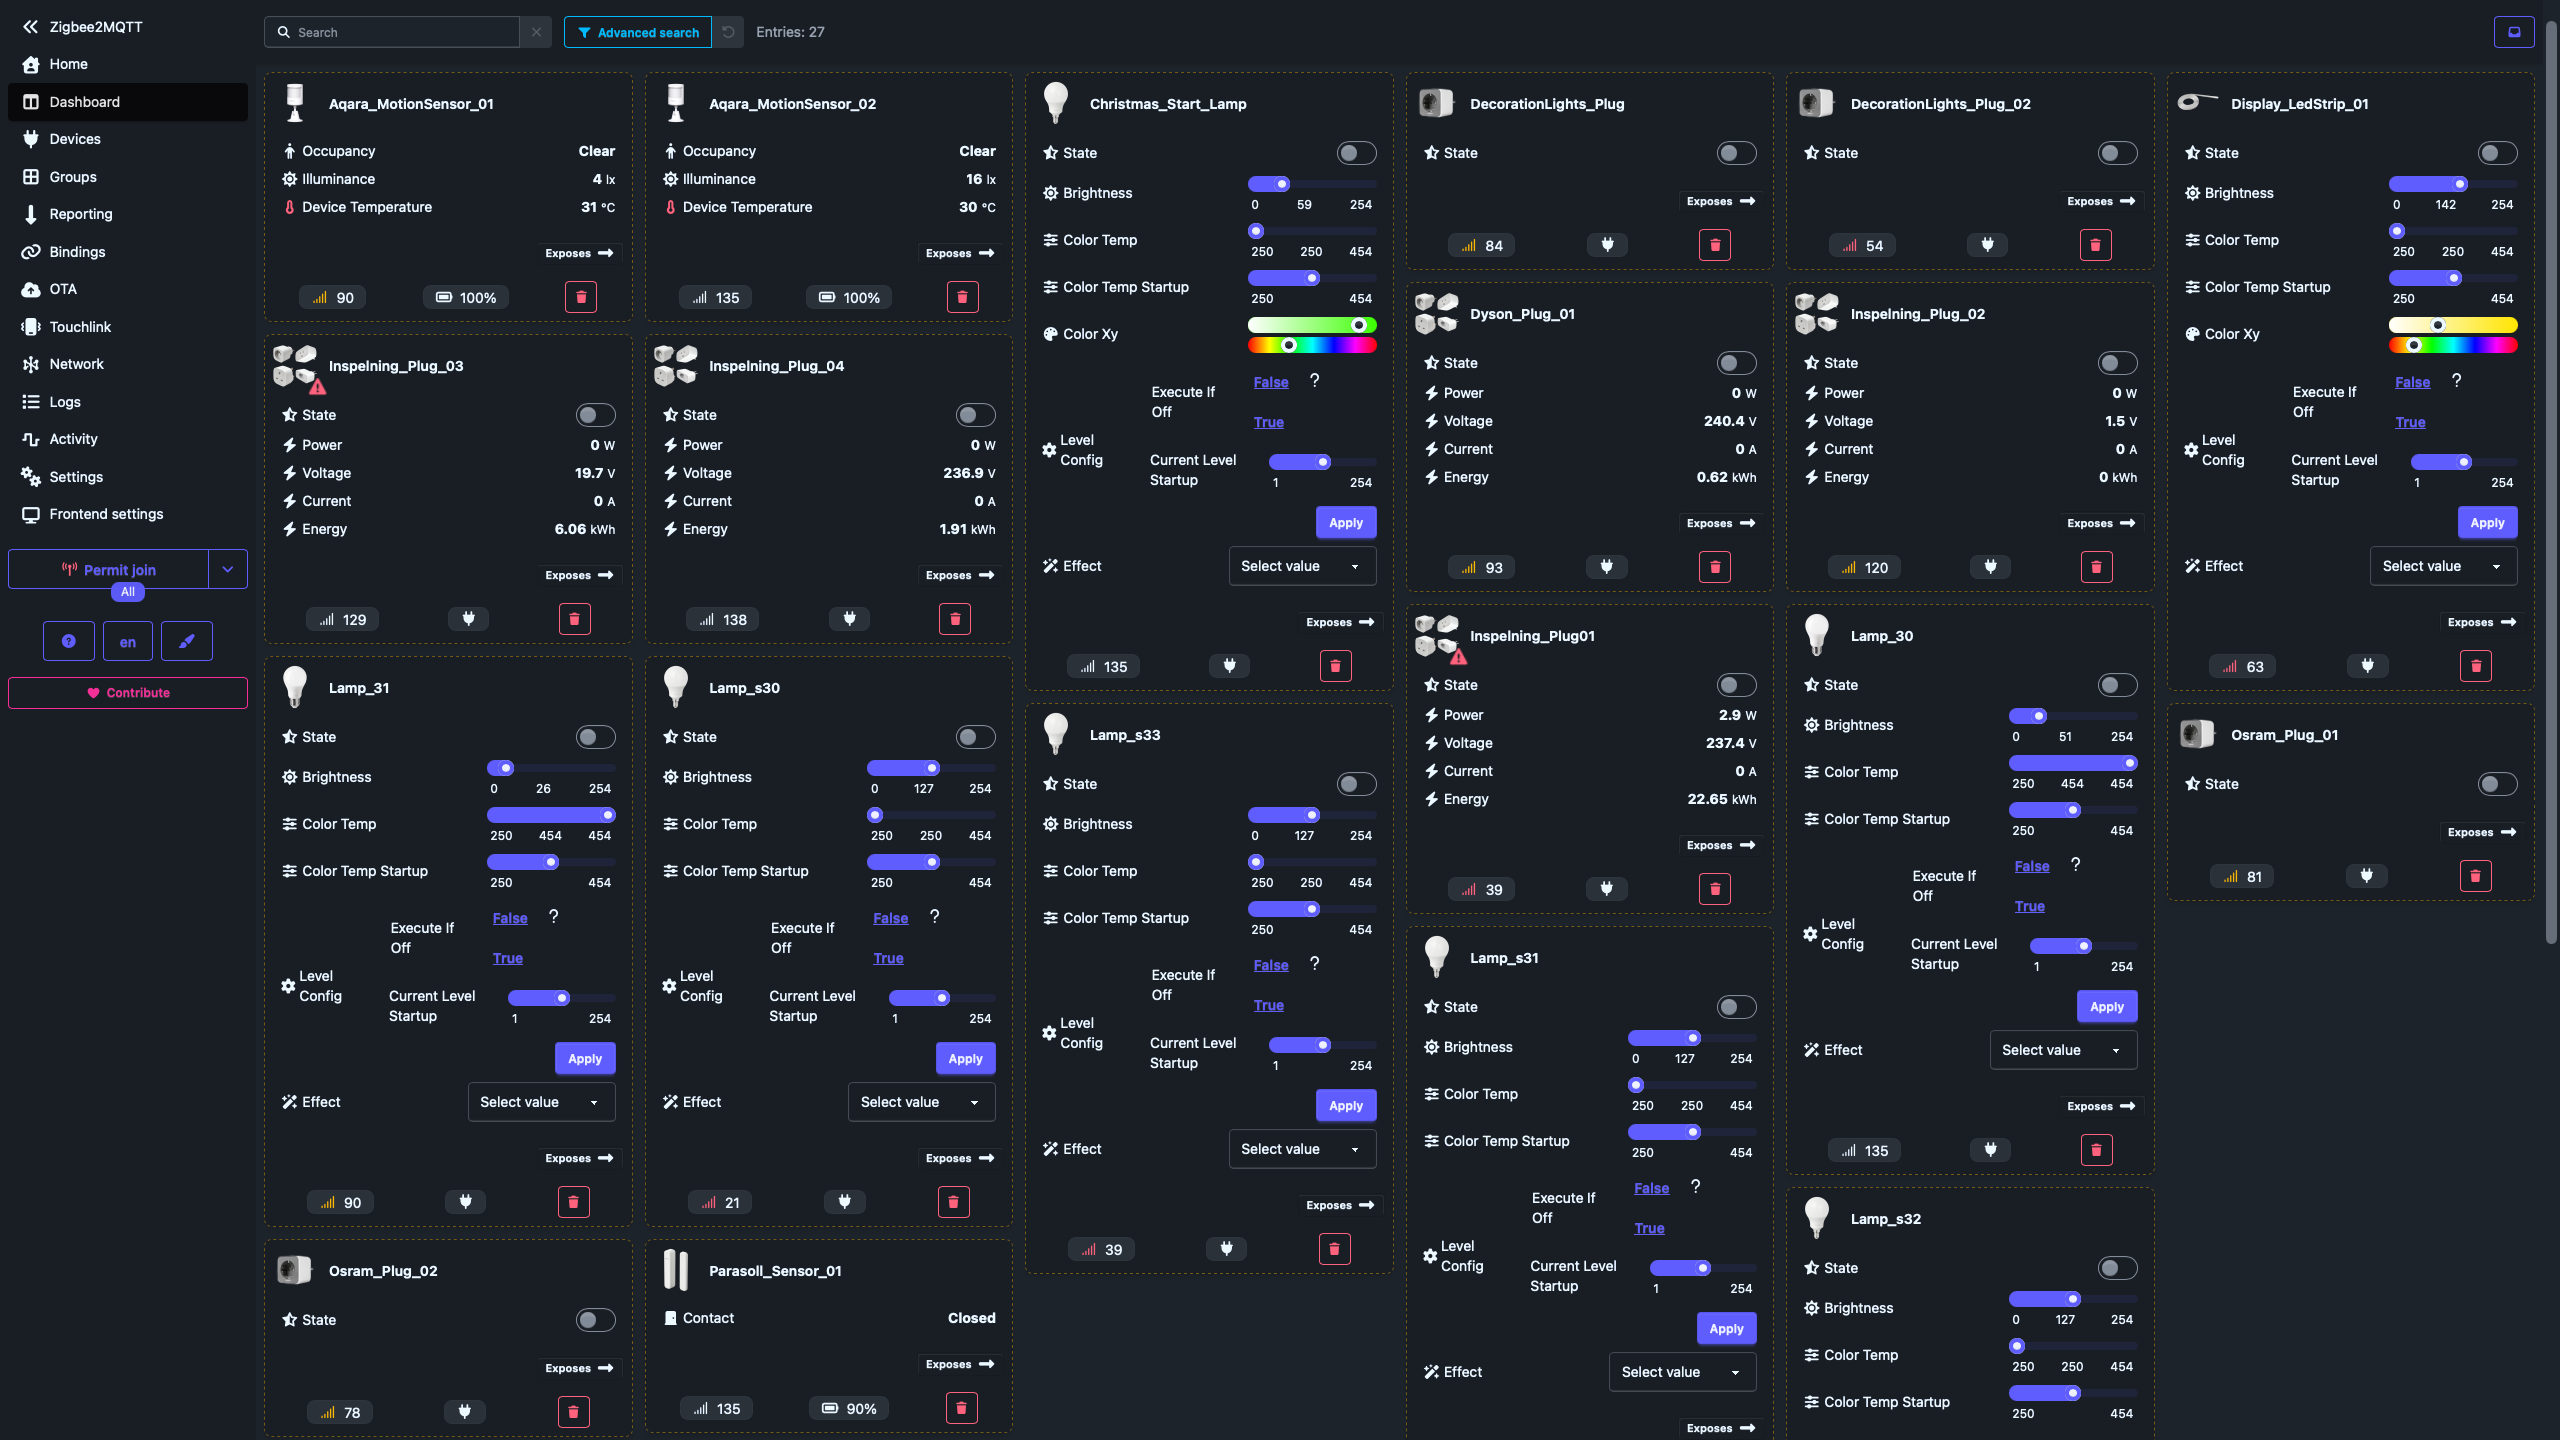
On the left, you have your primary navigation bar. At the bottom, there’s a prominent button to let new devices join the network. Clicking this triggers a countdown window (adjustable up to about four minutes), giving you a clear indication of how much time is left before you have to restart the pairing process.
Once a new device joins, you can name it directly in the GUI and automatically push that name change to the Home Assistant entity. While the dashboard is fantastic for pairing and debugging, in day-to-day use, you’ll still mostly interact with your devices through your standard Home Assistant dashboards.
ZHA vs. Zigbee2MQTT: key differences #
While experimenting, I noted a few distinct differences between ZHA and Zigbee2MQTT.
You can get the zigbee dongles I used for this test on Amazon using my affiliate links: Conbee II (the old one) here or SONOFF Zigbee Dongle-P (the new one) here
Here is a quick breakdown of how they compare:
| Feature | ZHA (Zigbee Home Automation) | Zigbee2MQTT |
|---|---|---|
| Integration | Native to Home Assistant | Standalone (+ MQTT Broker) |
| Entities Discovery | Immediate upon pairing | Requires triggering actions first |
| Device operations | Some actions not working | Perfect |
| OTA Updates | Basic, sometimes finicky | Reliable, easy to manage and more complete |
| Stability (My Setup) | Good | Excellent |
Two quirks to keep in mind with Zigbee2MQTT #
- The MQTT Integration: Running Zigbee2MQTT will group all your devices under the MQTT integration in Home Assistant rather than a dedicated Zigbee tab. It feels odd at first, but it’s just a matter of getting used to it.
- Action Discovery: Entities and actions are discovered by Home Assistant only after they’ve been triggered for the first time. For example, if you add a new smart remote, you might not see all the actions associated with the buttons until you manually short-press, long-press, and double-press every single button to register them on the network.
Honestly, those are the only annoyances I’ve noticed.
Why Zigbee2MQTT is winning (the pros) #
Despite those minor quirks, my Zigbee network has been more reliable than ever.
Devices that were previously acting weirdly are now working perfectly. A great example is the IKEA SYMFONISK remote, which gave me plenty of trouble in the past but is now functioning without a hitch.
Additionally, Over-The-Air (OTA) update management is significantly better. I updated almost all my devices without a single issue or the need for special configurations. Out of twenty devices on my network, there’s only one stubborn remote that refuses to update.
Conclusion #
Overall, I’ve found Zigbee2MQTT to be a superior experience to ZHA. The performance and reliability entirely compensate for the slight hassle of setting up and managing a third-party Docker container and an MQTT broker.
I’ve decided to stick with Zigbee2MQTT for the time being.
I am, however, keeping a secondary instance of ZHA to monitor its evolution. Whenever possible, I’ll feature ZHA alongside Zigbee2MQTT in future tutorials to keep things balanced.
How about you? What is your experience with Zigbee2MQTT or ZHA? Let me know on my socials below!