Introduction #
Home Assistant is a great tool that we can host in our homes to control locally almost all smart home appliances and gadgets, without depending on external services and internet connectivity.
In this article I’m explaining how to integrate the Ikea STYRBAR Remote Control in Home Assistant and what actions and entities are exposed in order to use it for local control.
The full video walk trough is on youtube.
What You Need #
- ZHA (Zigbee Home Automation) integration. It should be already installed and configured.
- A zigbee coordinator (e.g Conbee II USB dongle or or SONOFF Zigbee Dongle-P). It’s the device that’s going to control our zigbee devices directly, without any cloud integration.
You can get them on Amazon using my affiliate links: Conbee II here or SONOFF Zigbee Dongle-P here
Procedure #
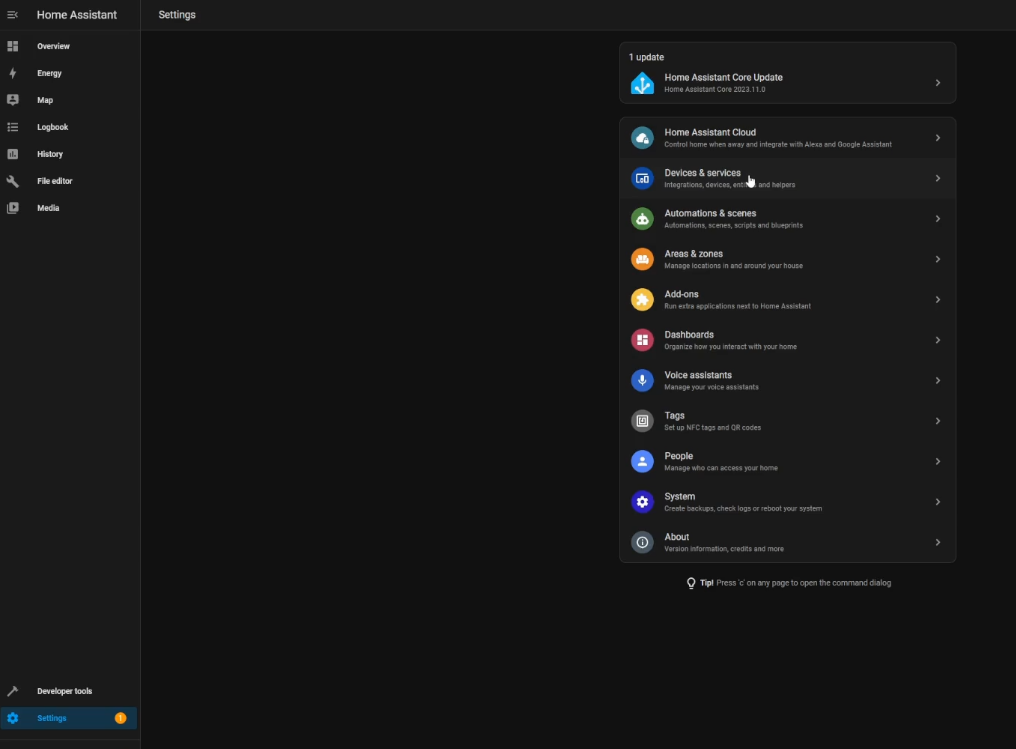
- Go inside the ZHA integration. In order to do this we need to select:
Settings -> Devices & services -> click on Zigbee Home Automation
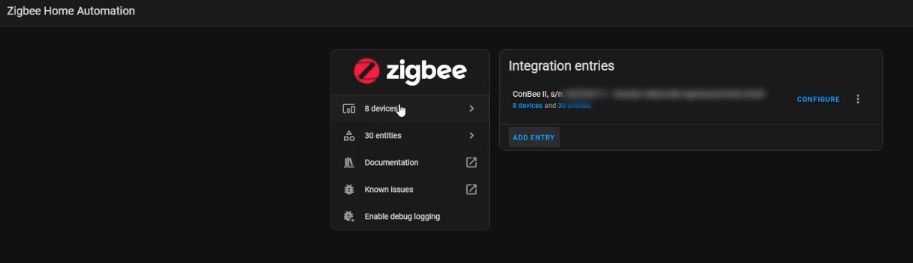
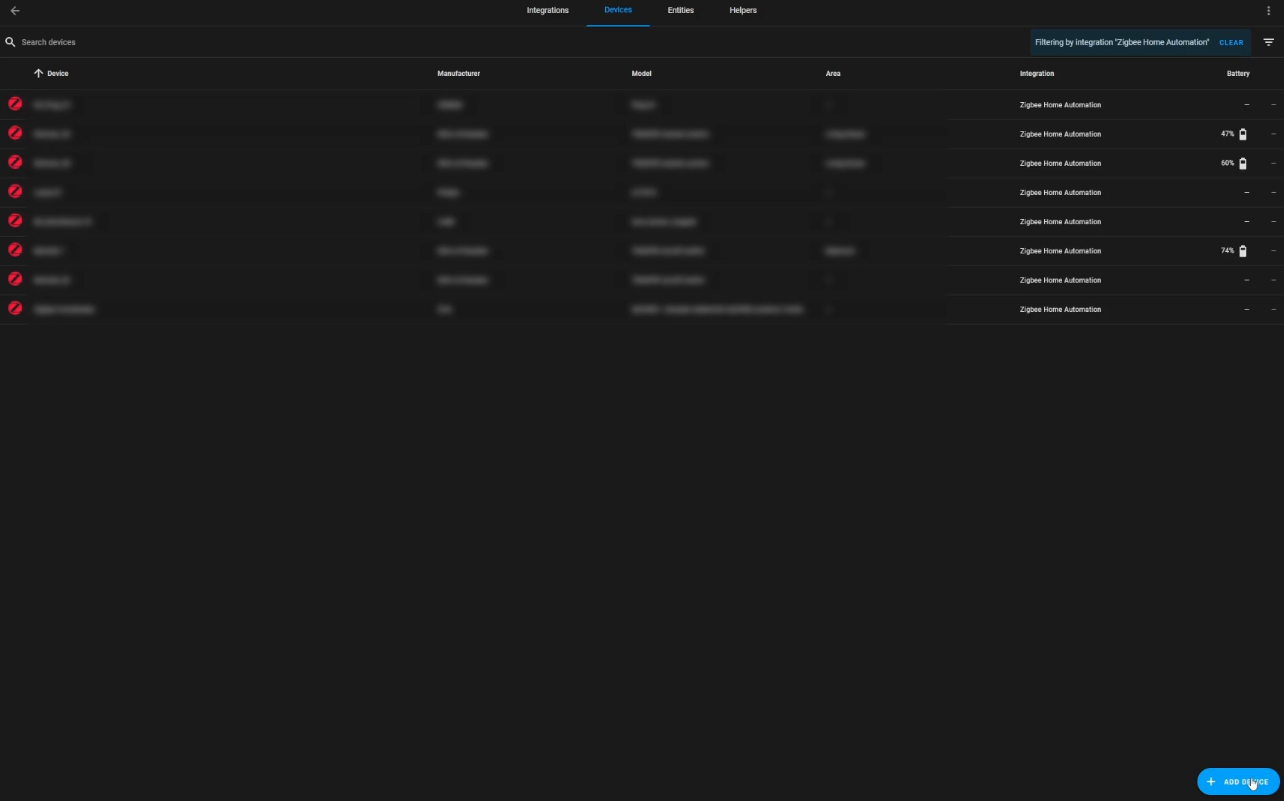
- Click on the devices section
- On the bottom right of the page click on Add device
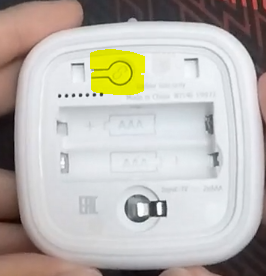
- While Home Assistant is looking for device, we have to put the remote in paring mode. In order to do that we need to remove the back cover and press quickly the pairing button 4 times in row. When the remote enters the pairing mode, the led on top is blinking.
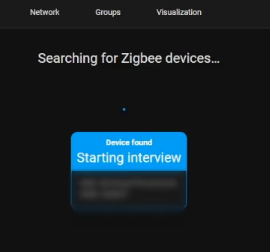
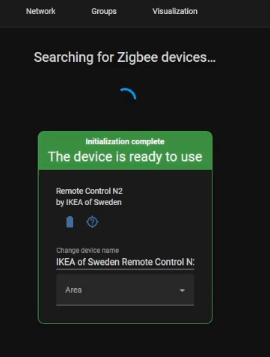
- Wait for Home Assistant to find and configure the remote
- Let’s add a name for the remote and an area, or complete this operation later in the device section.
- Close this section because the pairing is completed.
Entities exposed: #
Now that the remote has been added we can take a look at the entities that are exposed to Home Assistant and that we can use to control our smart home. In particular the most relevant are:
- Device offline
- Battery level
- “Turn on” pressed
- “Turn off” pressed
- “Dim up” continuously pressed
- “Dim up” release after long press
- “Dim down” continuously pressed
- “Dim down” release after long press
- “Left” pressed
- “Left” continuously pressed
- “Right” pressed
- “Right” continuously pressed
Oddly not all buttons have the same actions available.
Conclusion #
We’ve covered the pairing process and mapped out the entities, so you now know in advance which pieces are available for building your next automation! Time to start building!
What’s your first automation going to be? Found a unique use for one of these entities?